Email Client Configuration: Outlook 2029/2023 and Outlook 365
Setting up Outlook 2019/2023 and Outlook 365
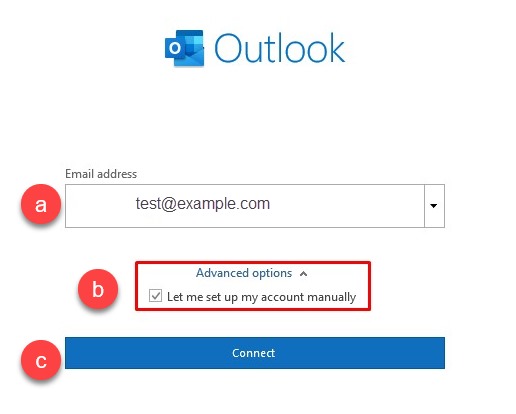
Step 1: Open Microsoft Outlook 2023 on your computer. If this is your initial launch, the window displayed will be as depicted below. If you have existing email accounts set up in Outlook, the process may differ, you can click on File Menu > Add Account to see the window as shown below.
a. Kindly input your email address.
b. Kindly select the checkbox labeled "Allow me to configure my account manually."
c. Click on Connect:
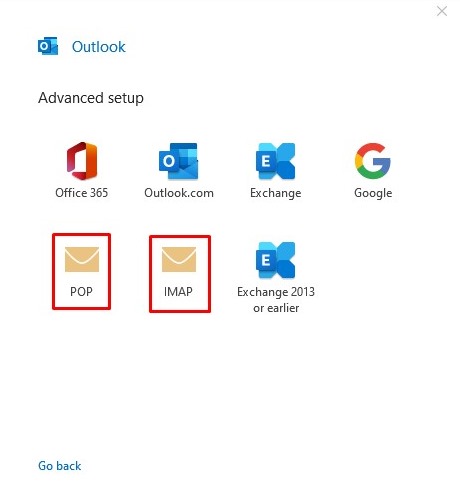
Step 2: Choose between POP or IMAP based on your preference for the Incoming Protocol. For this article, IMAP has been chosen.
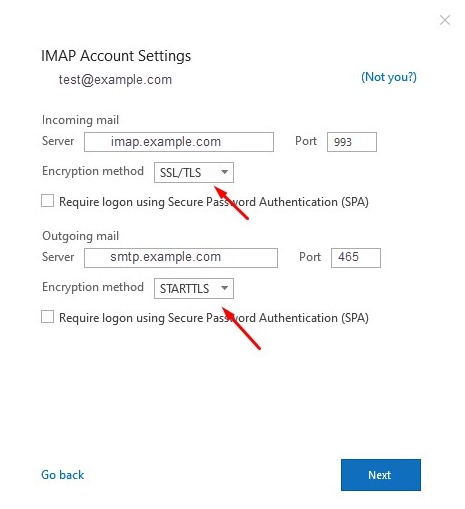
Step 3: Please refer to the Email Client Settings provided, and input the appropriate hostnames, port numbers, and encryption methods for both the Incoming Mail and Outgoing Mail servers based on your personal preferences.
Enter the following information
- Your Name: Customer Name
- Email address: example@your-domain.com
- Incoming Server: mail.domain.com or imap.domain.com
- Outgoing Mail server: mail.domain.com
- User name: Customer Email Address [example@yourdomain.com]
- Password: ___________________________________
Click on Next.
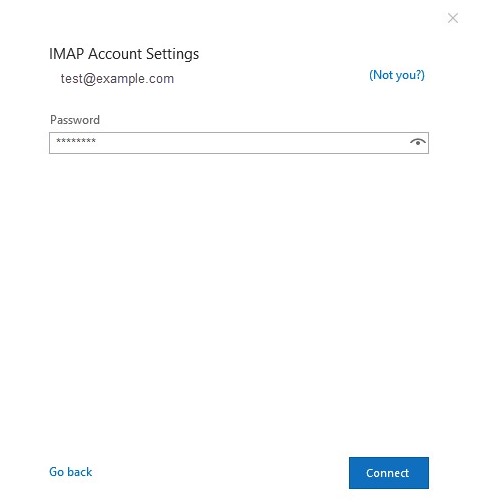
Step 4: Please input the password for your email account associated with us and proceed by clicking on the Connect button.
Step 5: Your email address has been set up now successfully.
Click on Done to complete the process. 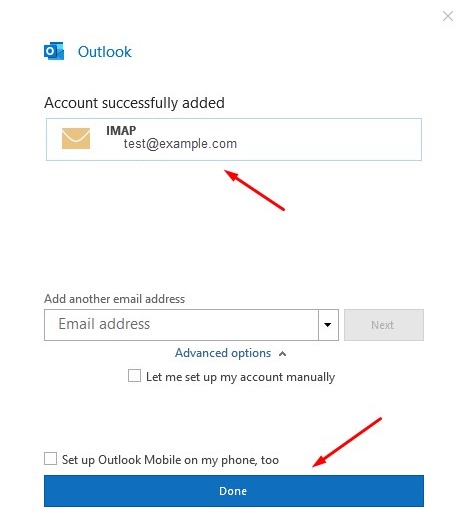
Step 6: Now you can send and receive emails on your Email Client.